Cold foam looks like a luxury menu upgrade – but making it at home is simpler than most people think. The biggest difference between “okay” cold foam and café-quality cold foam comes down to the right ratio, not the equipment.
There are lots of methods floating around, but the one that consistently delivers the smooth, fluffy texture you want is the 3–2–1 method – three ingredients, balanced proportions, and no guesswork.
If you want the at-home version, but even better than the one that you pay extra for… this is where to start.
What Is Cold Foam, Really?
Cold foam is just milk that’s been aerated (without heat) until it becomes thick, creamy, and sits on top of your drink instead of sinking in.
It adds texture, keeps your drink tasting smooth & creamy, and makes iced coffees feel like something you’d willingly pay extra for…even though you’re smarter now and don’t have to.
The 3–2–1 Cold Foam Formula
This method works because it blends creaminess, structure, and flavor without tipping into whipped-cream territory.
3 tbsp heavy cream
2 tbsp milk (whole or 2%)
1 tbsp syrup or flavor
- The cream gives the rich texture
- The milk keeps it pourable
- The syrup adds sweetness + stabilizes the foam
You don’t have to measure perfectly every time, but sticking close to this ratio is the difference between “pretty good” and “wow – that tastes legit.”
What You Need (and What You Don’t)
The internet will tell you that you need a high-end blender, a built-in frothing wand, and counter space that most kitchens don’t have. You don’t.
Here’s the real-life breakdown:
| Tool | Works? | Notes |
|---|---|---|
| Handheld milk frother | ✔ | Best balance of price + results |
| French press | ✔ | Great texture, a little messy |
| Mason jar | ✔ | Shake it — low tech, low cost |
| Blender | ⚠️ | Works, but over-froths easily |
| High-end espresso machine | Optional | Amazing — but not required (+ there’s a learning curve) |
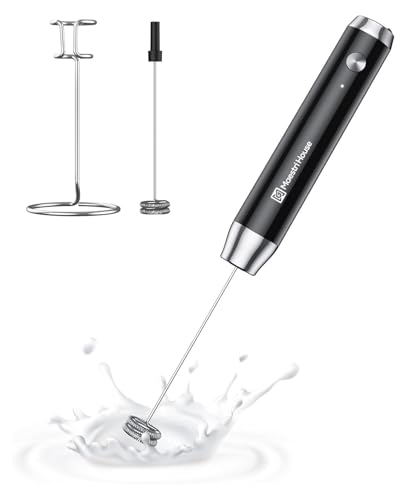
If you’re just getting started, a simple handheld frother is more than enough.
Best Milk Frothers for Making Cold Foam at Home
|
Starter

|
Mid-Level
|
Premium Pick

|
|
$8.49
|
$24.99
|
$70.99
|
How to Make Cold Foam Using the 3–2–1 Method
(H2)
Ingredients:
- 3 tbsp heavy cream
- 2 tbsp milk
- 1 tbsp syrup (your choice)
Steps:
1️⃣ Add heavy cream, milk, and syrup to a small cup.
2️⃣ Froth for 15–20 seconds, keeping the wand slightly below the surface.
3️⃣ Stop when the texture is thick but still pourable.
4️⃣ Pour gently over your iced coffee or latte — it should float and slowly cascade down.
Tip:
If it clings like whipped topping, cut back on cream or froth for less time.
Which Syrups Work Best for Cold Foam?
This is where you can get creative without making your coffee taste like dessert in a cup (unless that’s the goal).
Here are flavors that work especially well with the 3–2–1 ratio:
- Brown sugar cinnamon
- Vanilla bean
- Peppermint mocha
- Salted caramel
- Toasted marshmallow
- Pumpkin spice
Which Milk Is Best for Making Cold Foam?
When it comes to cold foam, the milk you use really does make a difference. The higher the fat content, the creamier and more stable the foam will be. Whole milk is the closest match to what most cafés use because it strikes the balance between flavor and structure without turning the foam too heavy. If you want a lighter texture, 2% still foams well and gives you that airy, cloud-like top without the richness of whole milk.
Can you make cold foam with oat milk?
Yes! You can make cold foam with oat milk, but not all brands froth the same. “Barista” versions usually perform better because they contain added stabilizers that help the foam hold shape. Regular oat milk creates a lighter, softer foam that won’t sit on top as long, but still works well for iced lattes.
| Milk Type | Result | Why |
|---|---|---|
| Whole | Creamiest | More fat = more structure |
| 2% | Lighter | Still foams well |
| Barista oat | Best non-dairy | Added stabilizers |
| Regular oat/almond | Froths lightly | Thinner |
| Heavy cream only | Too thick | Turns to whipped cream |
Final Thoughts
Cold foam is an easy upgrade that makes your at-home coffee taste like something you look forward to every morning. The 3–2–1 method takes the guesswork out and gives you a foam that feels bougie — without the bougie price.
Try it once, adjust based on your taste, and you’ll have your own go-to formula in no time.
More Helpful Coffee Guides
Espresso vs Coffee – What’s the Difference? – A simple explanation to help you choose the right brewing style for your routine.
DIY Coffee Syrups – Are They Really Worth Making at Home? – The real answer behind cost vs flavor vs convenience.
Coffee Bar Essentials – Build Your At-Home Setup – From starter tools to premium picks, based on how YOU drink coffee.